The widget is the component used to display content on your website, blog, touchscreen and other applications. To get the most from the tutorials, it helps to understand how the various components work and what they are called.
- About the widget and how to navigate it
- More about the common terminology that we use
About the widget
What is the widget
The widget is a snippet of HTML and Java-script code that displays content. The code determines both how the content is to be displayed and what content to display.
What content is displayed
Every time the page is viewed or refreshed, the widget fetches an updated version of content from the localista database cache, which refreshes every hour, so your website should never be out-of-date.
Discover, My Favourites and Recommended mode
For public users, the widget can be viewed in three separate modes. Each of these modes displays different content and features.
Discover mode
Discover mode is the standard mode when a user is viewing publicly available content.
My Favourites mode
My Favourites mode allows a public user to view their favourite listings and to create lists and trails. When logged-in, public-users are provided with advanced functionality, including the ability to create their own personal listings and to create and save an unlimited number of customised lists, maps and trails.
Recommended mode
Recommended mode only appears when a website-owner has chosen to display customised lists, maps or trails. This creates a smart-link dropdown above the widget in which multiple lists, maps and trails can be selected and viewed.
Discover mode
Filter panel
The filter panel provides users with a list of features and categories, which can be used to filter content. The filters are reductive, meaning that additional filters will reduce the amount of content being displayed. For example, in the Accommodation listing-type, selecting ‘spa’ and ‘cottage’ will show results for ‘cottages with spas’, not a list of ‘cottages’ and a list of ‘accommodation with spas’.
In-browser filtering ensures that search results appear in as little as 30 milli-seconds, or 30/1000s of a second.
Navigation bar
The navigation bar allows customisation of content by location (the WHERE filter), and type (the WHAT filter). Users also have the option to keyword search, share content, login to their public user accounts and switch to the various language translation options that we currently offer, which include English, Japanese and Chinese.
Map, grid and trail view
Users always have the option to view content as a grid or on a map.
Users
Localista has two different types of users, one for managing listings and the other for creating and sharing custom lists, maps and trails.
Public User Accounts
Public User Accounts are created through the widget by clicking the PERSON icon. Once logged in users can use localista as their personal planner tool with the ability to create custom lists, maps and trails and to share their favourite lists and itineraries with their family and friends.
Creating an account is simple:
- Click the PERSON icon to open the login pop-up.

Public User icon accessible from the navigation panel
- On the pop-up, if you already have an account you can enter your login details and click LOGIN, otherwise skip to the next step.
- To register a new account, simply click the Don’t have an account link to create your public user account, enter your details and click REGISTER.
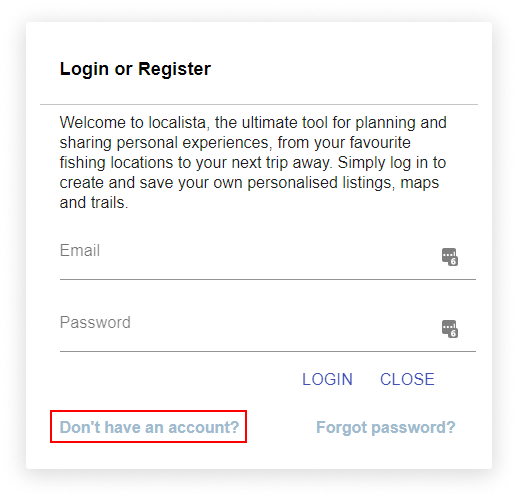
Example of how to create a new public user account
Admin User Accounts
Admin User Accounts can create and manage listings in the admin system.
Creating an account is simple:
- Go to the localista login page, which is also accessible from our navigation menu.
- If you already have an account, you can enter your login details, otherwise skip to the next step.
- To register a new account, simply click the Create your account link at the bottom and fill in your details to register.
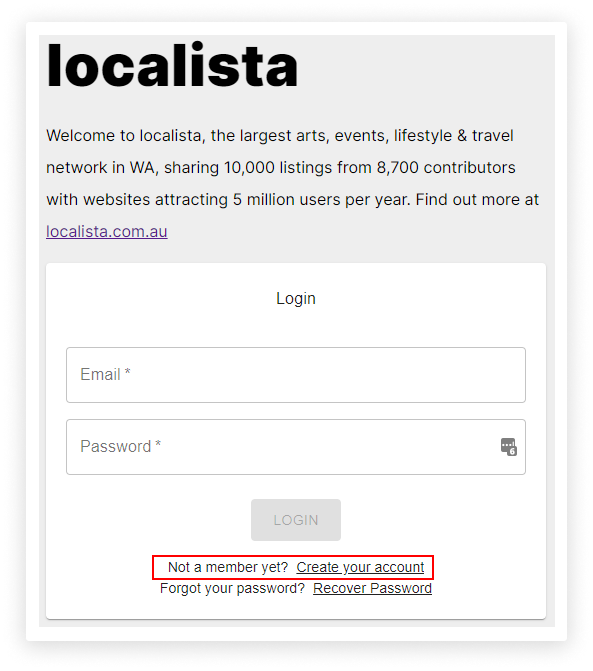
Example of localista Admin User registration