The content generator is an easy-to-use tool for creating lists, maps and trails which can then be added to your website or blog. The entire process should take less than 1 minute. It is freely available for anyone to use but is also a useful tool for paid content licenses.
For premium accounts there is an option to enter your unique license ID which will automatically customise the content, limiting the listing types being displayed as per your license. For free users this is not required.
In this tutorial you will learn:
- Simple steps to use the content generator
- How to customise your content
Getting started
Go to the Content Generator page and follow the simple steps as outlined below to get started!
1. Enter your license ID
Premium Accounts are provided with a license ID, which is emailed out to you. If you have one then enter your license ID as follows:
- Enter your license ID.
- Select apply.
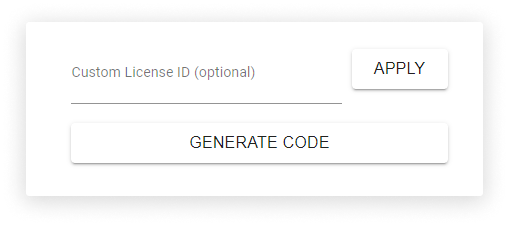
Input field for entering License ID
2. Customise the content!
Use the widget to display the content you wish to display on your web page or blog. The options are as follows:
- Use the WHERE dropdown to select the region.
- Use the WHAT dropdown to select the listing type you wish to display.
- Open the filter panel to further filter content if required.
- Choose your default view, either grid-view or map-view.
- If you chose map-view, select the ratchet-icon to select the map-type: Road, Satellite, Terrain or Hybrid.
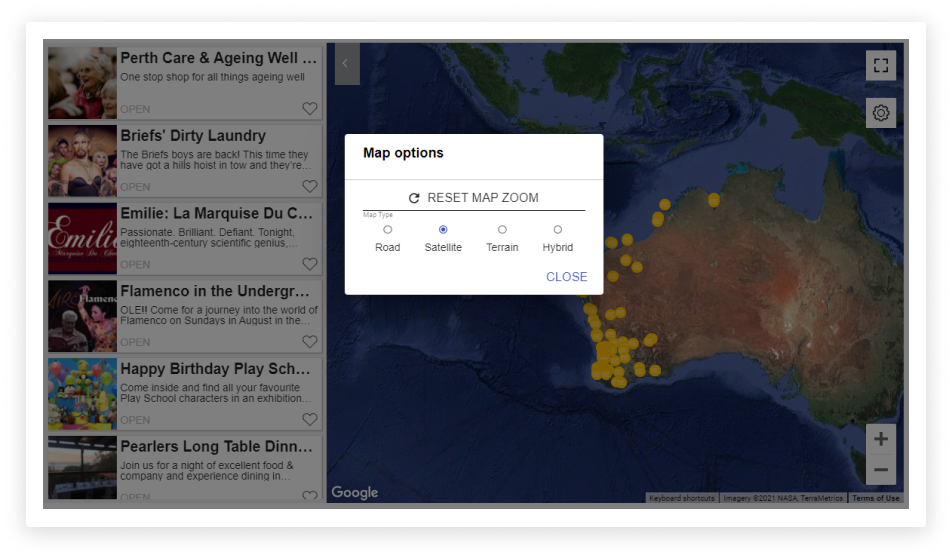
Example of selecting map options on the content generator
3. Generate the code
Select the GENERATE CODE button to view and copy the code you need for your website or blog. Before selecting the code, you have the option for further customisation (see below).
4. Custom customisation
Custom customisation is optional. The default settings have been selected as the most popular and best suited for most circumstances.
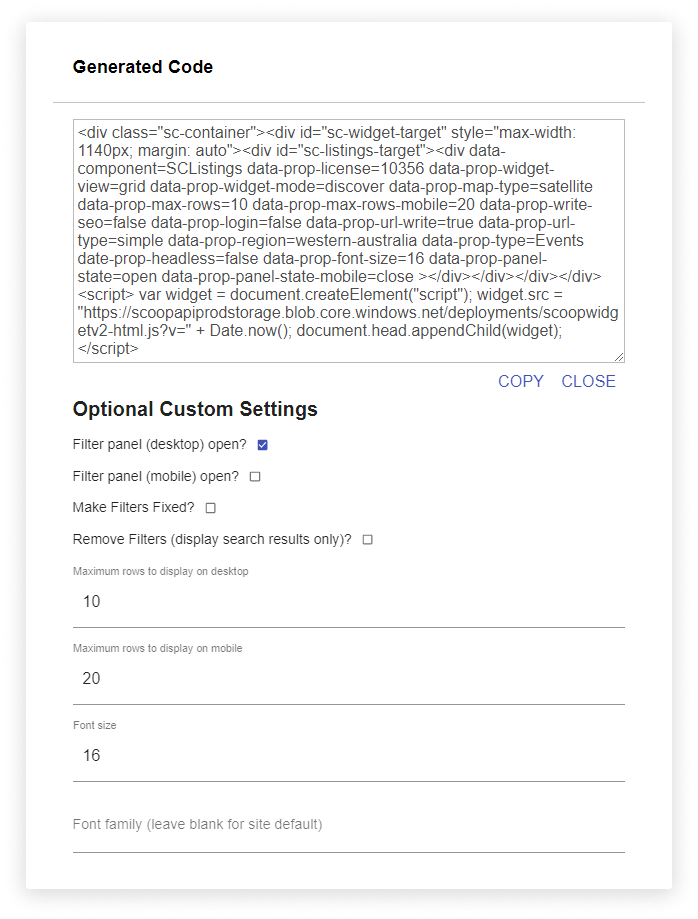
Optional Custom Settings for your content
Filter panel open
Choose to have the filter panel open or closed by default.
- We suggest that you keep the default settings, which is open on desktop and closed on mobile.
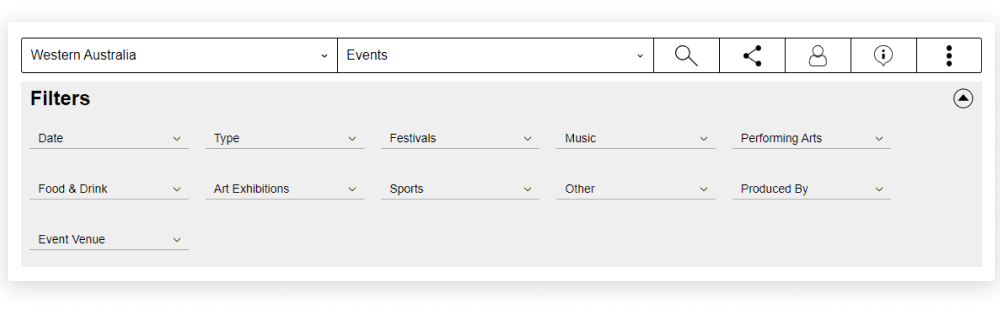
Example of filter panel opened on desktop
Make Filters Fixed
This is useful if you need to lock the filters to any specific pre-filter.
- For example, you might want to display only chalet accommodations by locking in that filter, which means the user will no longer be able to remove that filter.
Remove Filters (display search results only)
This is an awesome option for displaying content in the middle of a web-page. See notes below:
- Remove the entire filter navigation panel, also known as a headless widget. This basically removes the filters & navigation bar, so that only the searches will display.
- Users usually limit the number of rows to 3-5 rows so the content can fit perfectly in the middle of a page.
- To see an example of this, visit Streets of Subi where the events content has been limited to only two rows and the content is displayed in the third section of the homepage.
Maximum rows to display on desktop and mobile
This is the number of rows of searches that will appear on the grid view.
- We recommend leaving default, but if you need to specify then select the number of rows you wish to display on each device.
Font size and font family
Unless you have a particular need, then we recommend keeping font-family and font-size as the default.
5. Copy the widget code and put it on your blog or landing page
- Visit our tutorial on how to add the localista widget to your blog or landing page.
- For more info on customisation, check out our other tutorials.
For instructions on how to use smart-links:
- Refer to our smart-links tutorial