One of the main perks of localista is its trail building functionality. This allows anyone with a public user account to create and manage custom favourite lists, such as a my favourites list in grid-view or map-view or even a trail (itinerary). Once they’re done making a custom list, the user can then easily share it with their family and friends, and premium users can also add their custom list, map or trail onto their blog or site. To learn how to add your list to your blog or site as a premium user, view our tutorial on How to add a custom list, map or trail to your blog or website.
Users can further customise their lists, maps and trails (itineraries) by creating their own custom listings. This means users have full flexibility to create their unique lists and it is a great way to add custom way points onto the map!
In this tutorial you will learn:
- How to create a my favourites list in both grid-view and map-view
- How to create a trail (itinerary)
- How to add your own custom listings or way points on the map
How to create a my favourites list in grid view
Creating a my favourites list in grid-view is easy, follow the steps below to get started.
- Go to our content page on localista.com.au.
- Login to your public user account. If you don’t have an account then view our guide on How to register a new public user account.
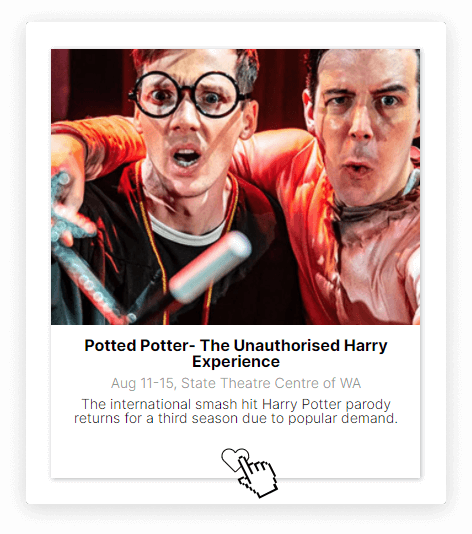
- Click the heart icon to add a listing to your favourites, then either choose to add it to an existing list by checking it, or use ADD TO NEW LIST.
- Click SAVE and the listing will be added to your chosen favourites list.
- Repeat steps 3 and 4 to create as many lists as you would like!
Example of adding a listing to my favourites
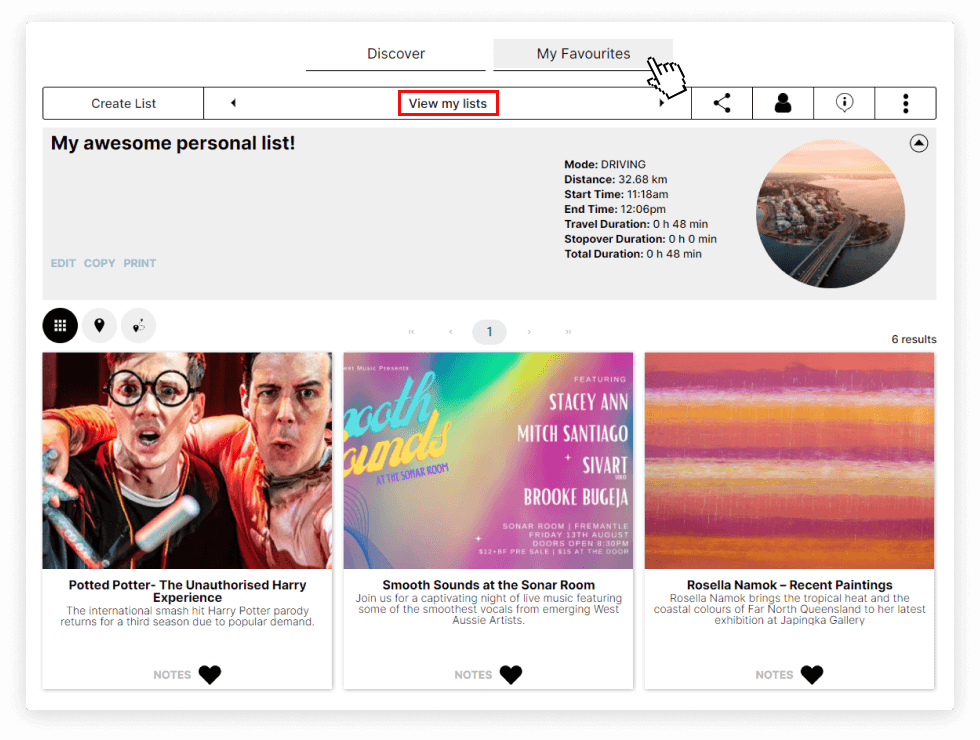
- To view your lists, switch to the My Favourites tab and select your list from the View my lists dropdown.
Example of switching to my-favourites mode and viewing my list
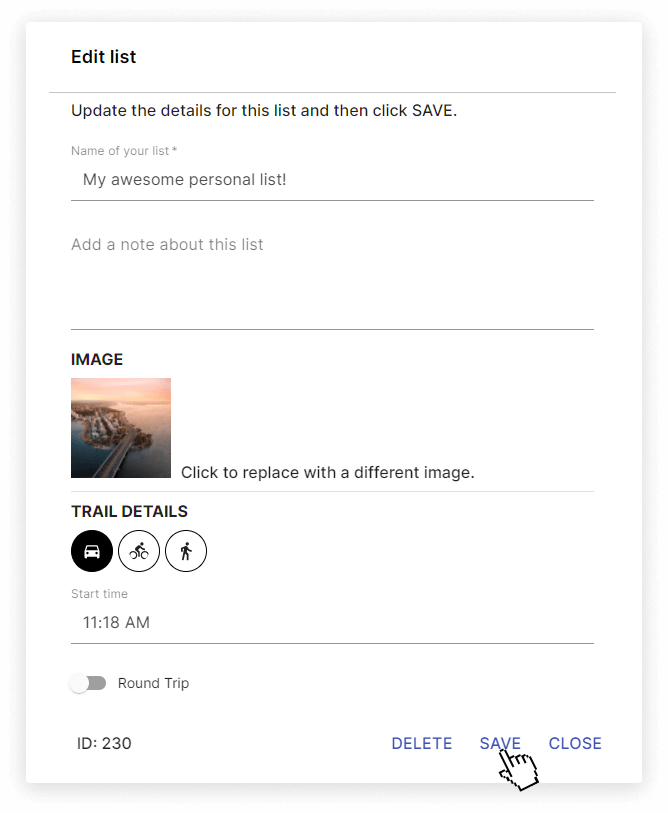
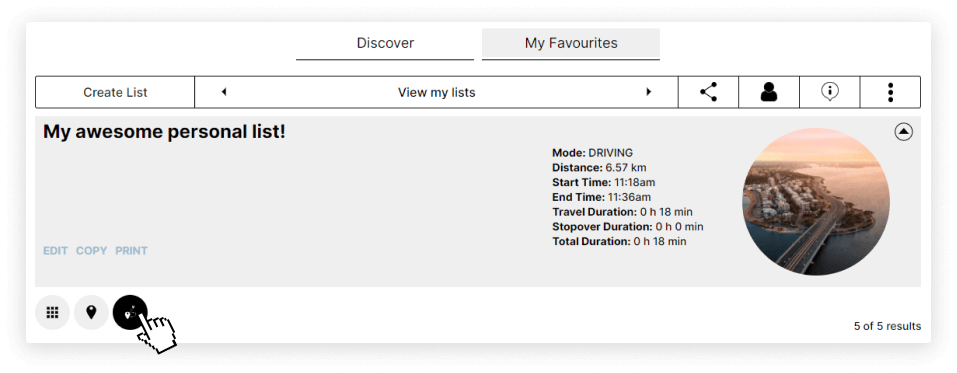
- Finally, setup the general details of your list such as name and description. To do this you can click the EDIT link in the filter panel to open the ‘list options’ pop-up.

Example of EDIT button to open the list options pop-up
- Fill out the trail details in the ‘edit options’ pop-up and click SAVE when you are done.
Example of editing the list options in the pop-up
How create a my favourites list in map-view
Creating a my favourites list in map-view is easy, follow the steps below to get started.
- Go to our content page on localista.com.au.
- Login to your public user account. If you don’t have an account then view our guide on How to register a new public user account.
- Switch the content to display in map-view by clicking on the map icon located under the filters panel.
Example of switching the content to map-view.
- Select the listing you want by either clicking on it from the side panel or on the icon located on the map.
- Click the heart icon to add a listing to your my favourites list, then either choose to add the listing to an existing list by checking the box, or use ADD TO NEW LIST.
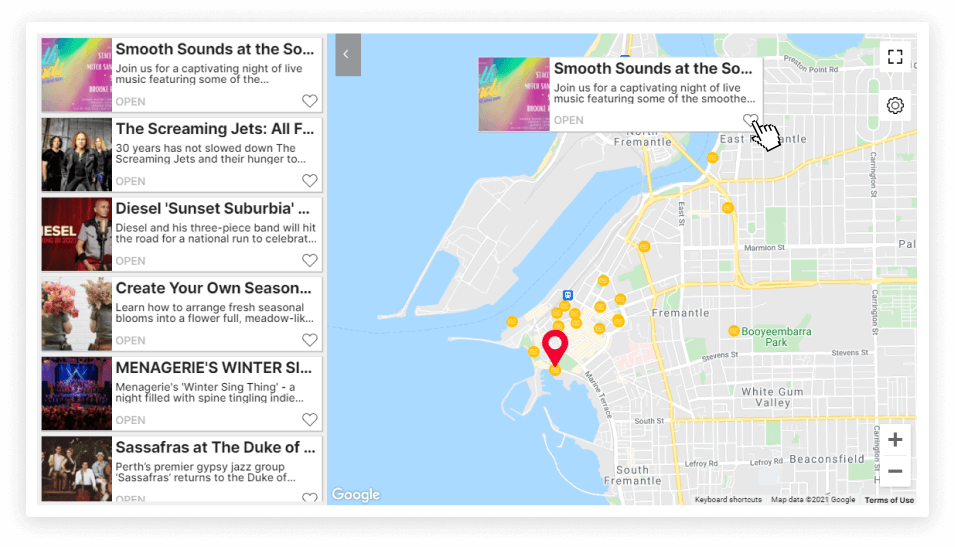
Example of adding a listing to favourites in map-view
- Click SAVE and the listing will be added to your chosen my favourites list.
- Repeat steps 4-6 to create as many lists as you would like!
- To view your lists, switch to the my favourites tab and select your list from the View my lists dropdown.
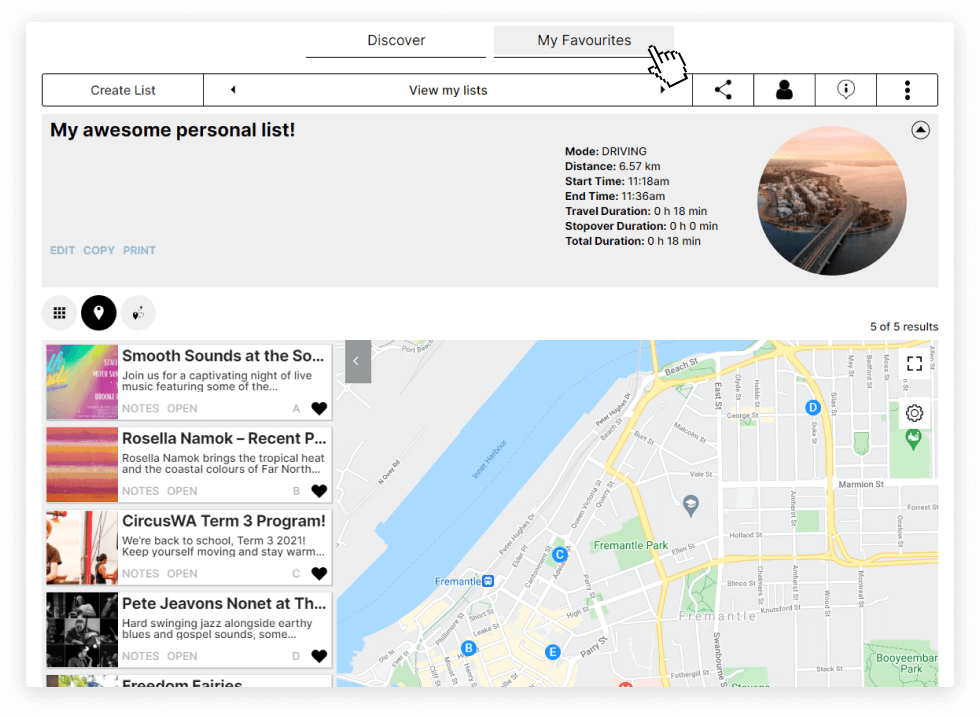
Example of my favourites list in map-view
- Finally, set up the general details of your list such as name and description. To do this you can click the EDIT link in the filter panel to open the list options pop-up.
Example of EDIT button to open the list options pop-up
- Fill out the trail details in the edit options pop-up and click SAVE when you are done.
Example of editing the list options in the pop-up
How to create a trail (itinerary)
To create a trail, you must first create a my favourites list in map-view. Once you have your list in map-view, creating a trail is quick and easy. Follow the steps below to get started.
- Click on the trail-view icon to switch to the trail-view, you should now see that the trail directions have appeared on the map.
Example of switching to the trail-view mode
- Customise your trail path easily to your choosing by organising the order of your listings in the side panel. Organising the order is as simple as a drag-and-drop of the listing cards. As you change the order, you will also see the trail path reflected on the map instantly.
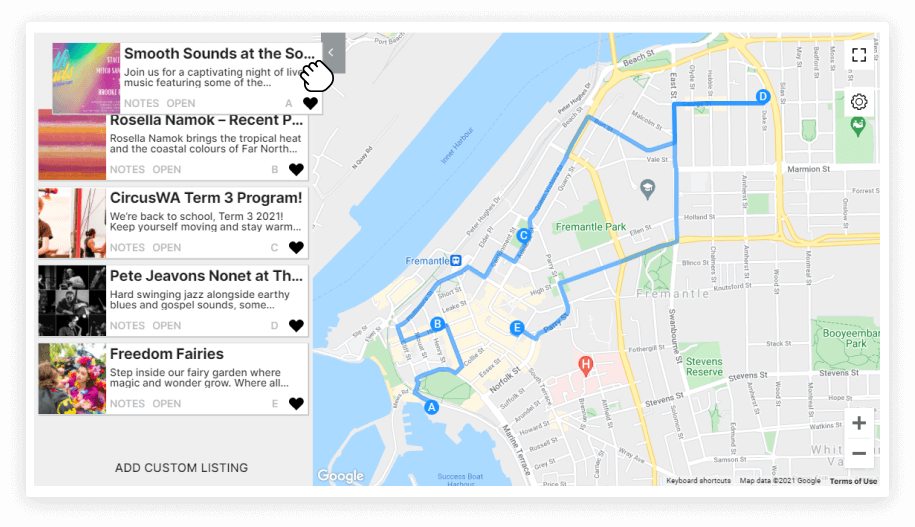
Example of drag and dropping listings to customise the trail path
- To ensure you get the correct time estimates for your trail trip, set the stopover duration for the listings by clicking on the NOTES link, which is located on each of the listing cards in the side panel. Then set the duration.
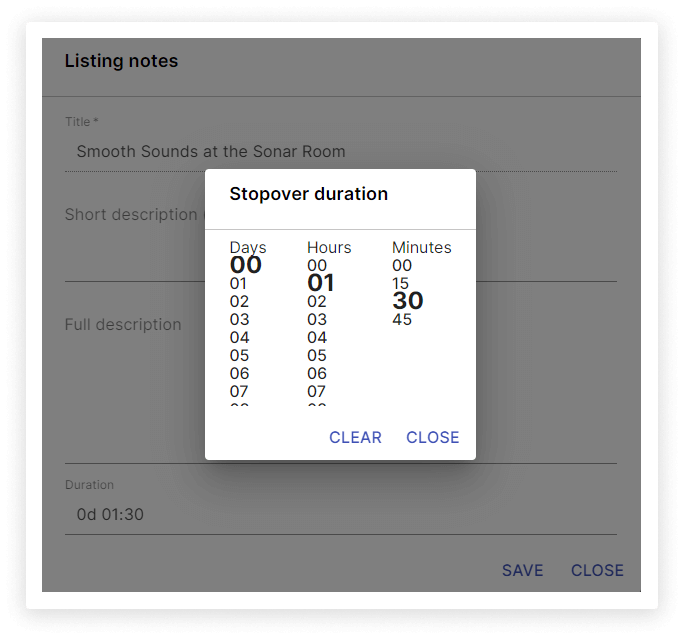
Example of setting the stopover duration for a trail listing
- Finally, set up the general details of your list such as name and description. To do this you can click the EDIT link in the filter panel to open the list options pop-up.
Example of EDIT button to open the list options pop-up
- Fill out the trail details in the edit options pop-up and click SAVE when you are done.
Example of editing the list options in the pop-up
We recommend giving your trail a name, description, quality image and organising the start time and duration for each listing. Localista will then automatically generate the time and duration of the trip and display each listing in the filter panel.
How to add your own custom listings or way points on the map
Custom listings are an awesome way to further customise your list, map or trail. They are also a great way to add custom way points onto your map or trail. Follow the steps below to get started.
- Click on ADD CUSTOM LISTING to open the pop-up.
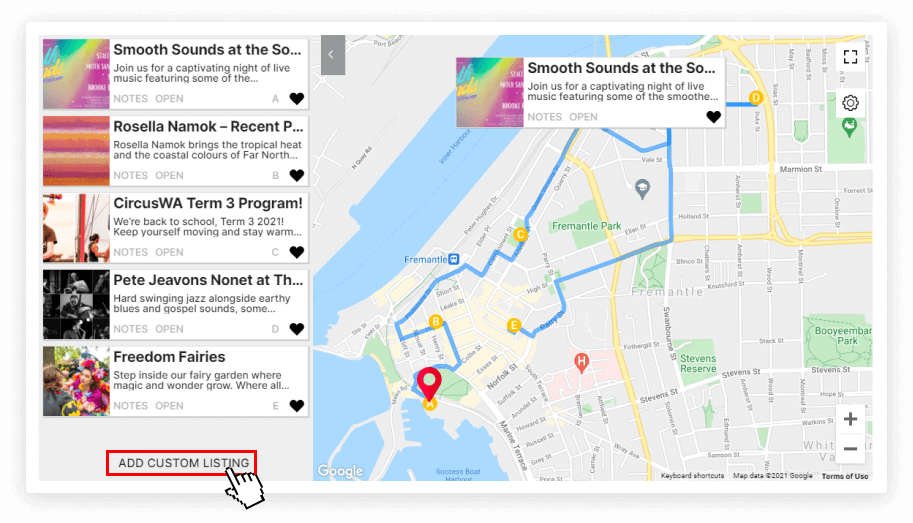
- Fill out the details of your custom listing in the pop-up and click SAVE when you are ready. That’s it you’ve created your own custom listing!
- Drag & drop into the correct position if you are in map-view or trail-view.