Premium accounts can also make smart-links, which are buttons that sit above the widget and make it easy for users to navigate pre-filtered content on the same page. An example of this can be found on the Aboriginal Culture in Perth & WA page on scoop.com.au, where Aboriginal culture and experiences have several smart-links, which when selected, display content as shown.
Smart-links are only available to premium users. Visit our content licensing page to learn how to become a premium user today.
In this tutorial you will learn:
- What are smart-links and the benefits
- How to add smart-links to your widget
What are smart-links?
Smart-links are buttons that sit above the widget which allow the user to quickly and easily navigate pre-filtered content on the same page.
Clients normally will create at least two smart-links. The first smart-link is set up to display default content as chosen, and up to 9 more smart-links can be set up additionally to allow users to instantly switch between different pre-filtered content of their choosing.
Smart-links consist of a name and a link and are a small code that is amended to the rest of your widget code.
View various examples of our clients taking advantage of smart-links on their site:
How to add smart-links to your widget?
To add smart-links to your widget follow the steps below.
- Before adding a smart-link to your widget, you need to have set up a widget already (i.e. chosen your default view). Use our content generator to get started, and if you need any help with setup then refer to our step-by-step tutorial on How to use the content generator. Skip to the next step if you already have a widget setup.
- Go to our content page on localista.com.au, or any other page with the widget on it.
- Customise the content starting with the listing type (WHAT) and location (WHERE) on the navigation panel.
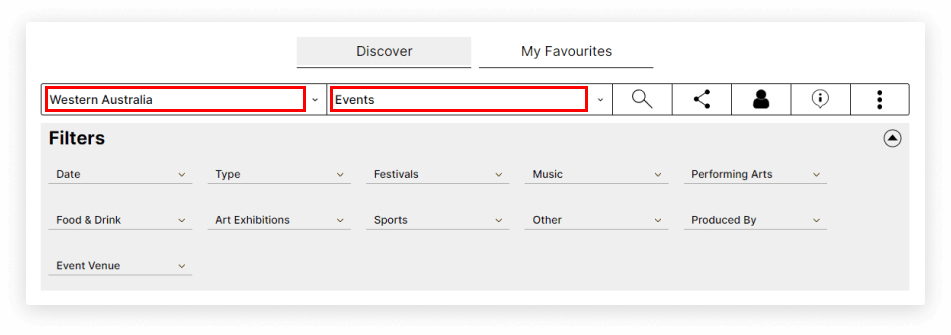
Example of the WHERE and WHAT filters
- Customise the content by choosing the filters in the filters panel.
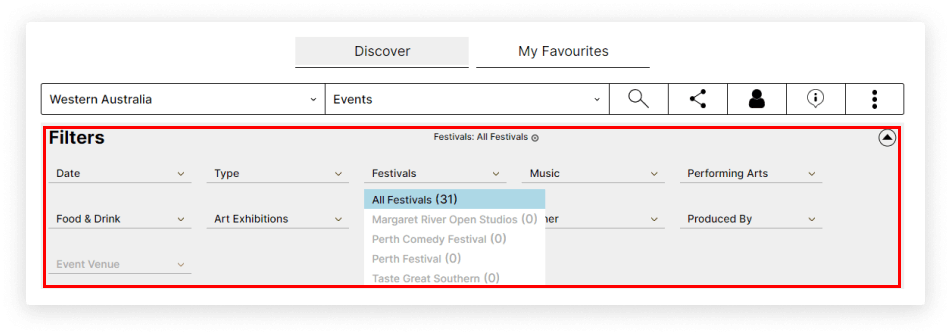
Example of customising the filters panel
- Copy the URL link in the URL bar of your browser and save this as we will need this to set up your smart-link.

Example of copying the URL
- Pick a name for your smart-link and save as you will need this name to set up your smart-link.
- To create more smart-links, repeat steps 3-6.
- Contact localista support at info@localista.com.au and provide us with your smart-links in the format of (name, link) as well as the code for your current widget that you would like the smart-links to be added to. We will then generate the new code for you.
- Once we send you the newly generated code, you can paste it into your blog or site easily as RAW HTML. If you need help, you can refer to our How to add content to your blog or website tutorial.
Additional premium user features:
- Did you know that premium users can also display lists, maps and trails on their blog or site? To learn how, visit our how to add lists, maps and trails to your blog or site tutorial.